Outdoor bath project
How We Turned Our Old Bathtub Into an Outdoor Bath
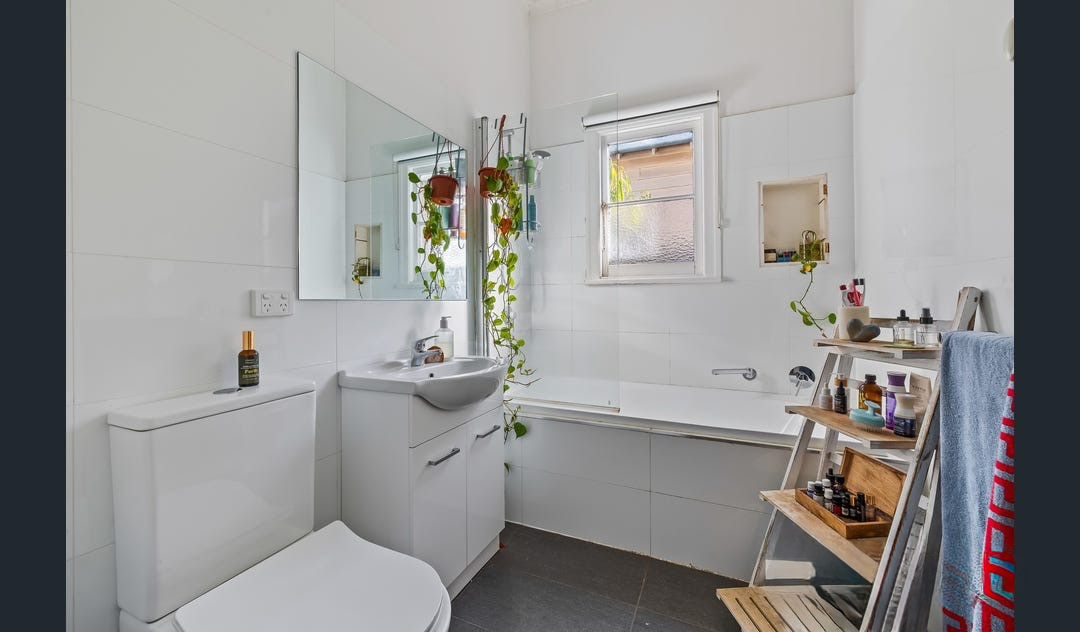
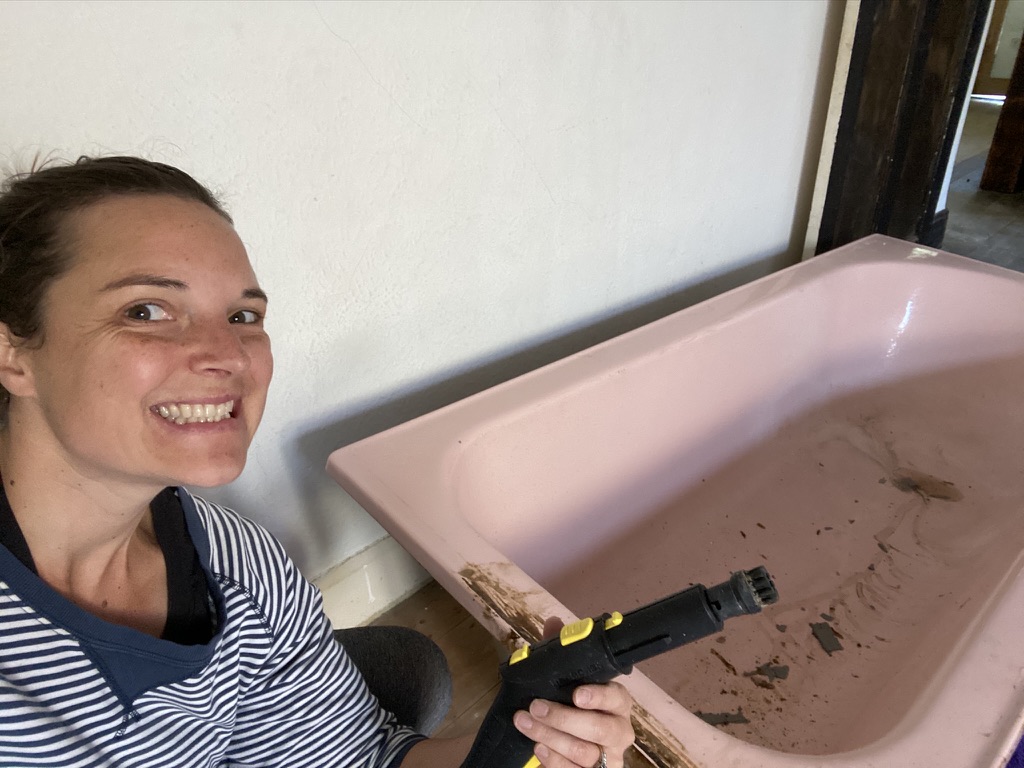
When we renovated our bathroom, we removed the original bathtub to make way for a new layout. It had done its job inside the house, but we knew it still had plenty of life left in it. Our house was one of several homes in the street built during the same era, and many had identical cast iron bathtubs, sinks and basins. These fixtures were made to last. They are incredibly solid, almost indestructible and have already survived for more than 100 years. Rather than sending such a beautiful piece of the house’s history to landfill, we decided to turn it into an outdoor bath.
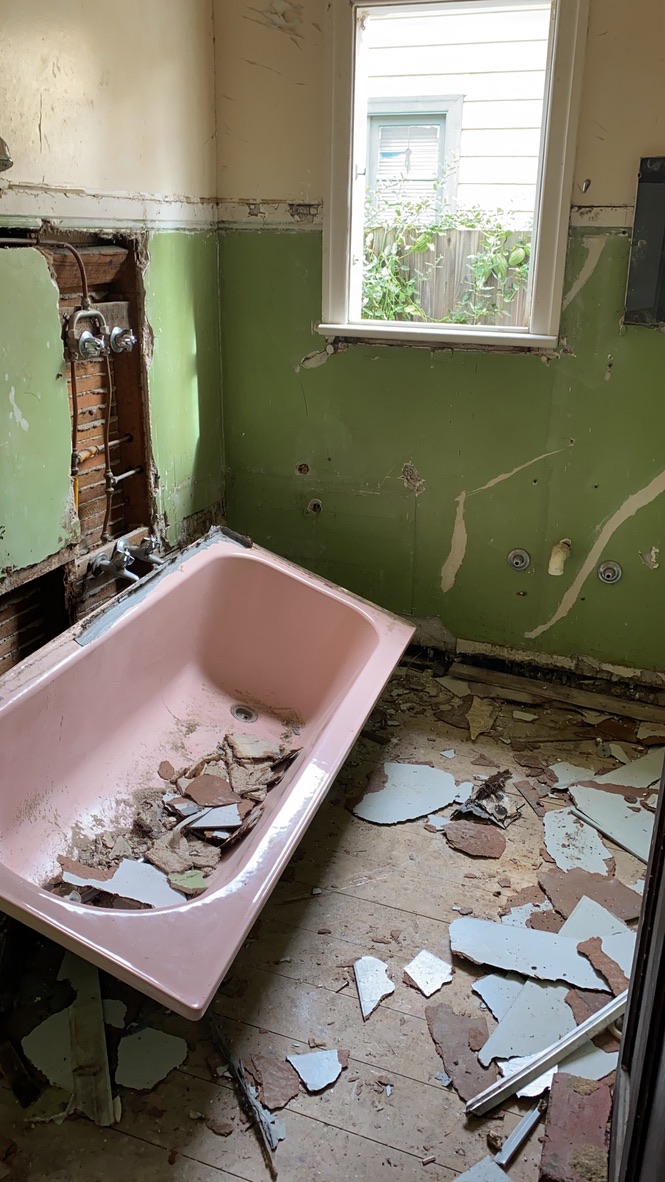
Finding the Right Place for the Bath
We chose a quiet spot near the shed, surrounded by the garden and bush. The location gave the bath a sense of privacy while also making it possible to connect it to water from the shed.
Moving the cast iron bath into position was one of the hardest parts of the project. It is unbelievably heavy, so you will need plenty of strong friends to help lift it. Plan exactly where it is going before you start moving it because once it is in place, you will not want to move it again.
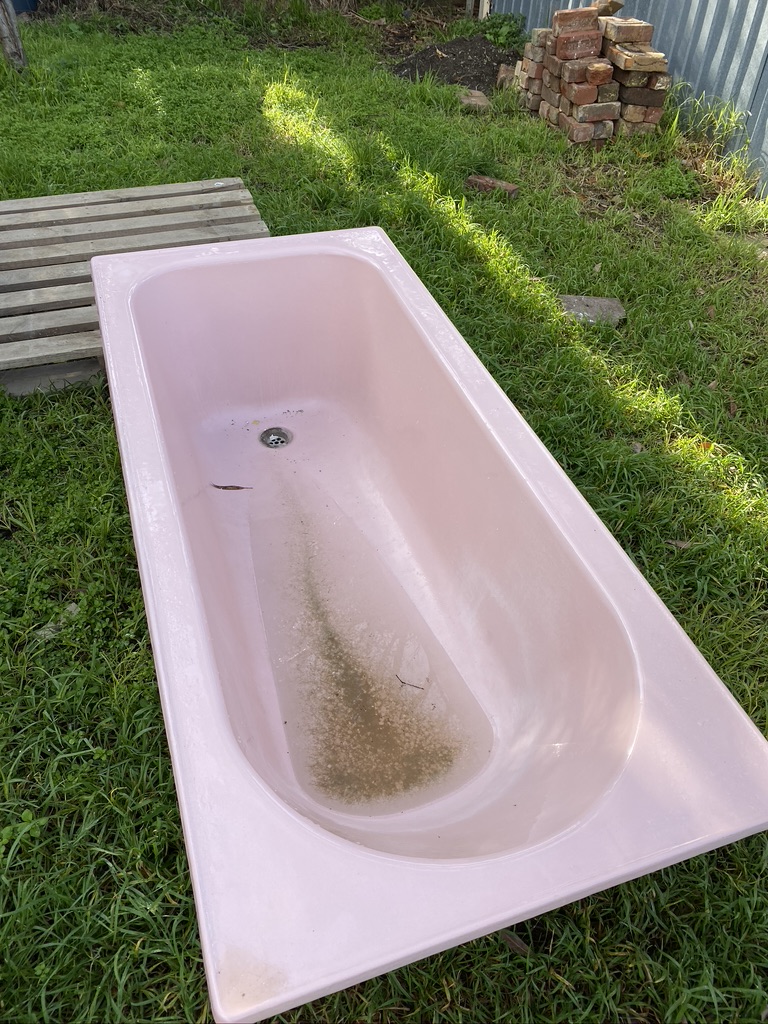
Once the bath was in position, the timber structure could be built around it.
Building the Timber Base and Surround
The timber base and surround were constructed on site to fit the bath and its location.
The bath does not sit directly on the timber decking. It rests securely on a supporting frame underneath. The surrounding timber creates a level platform around the bath and makes it feel like a permanent part of the landscape rather than an old bathtub placed outside.
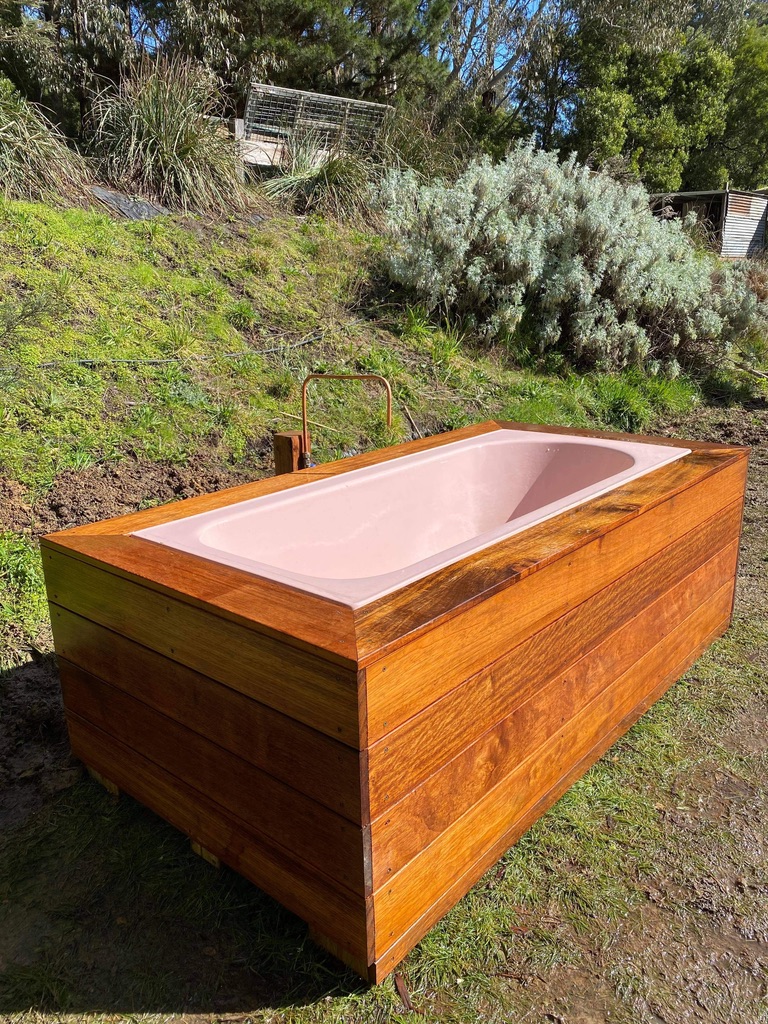
The timber surround also provides somewhere to sit, step into the bath and place a towel or drink.
Even a smaller DIY project benefits from planning the order of work and keeping track of the materials that need to be sourced. The Home Renovation Project Planner is designed to help keep the details together.
Connecting the Water and Heater
Water reaches the bath through a pipe connected to the nearby shed. It passes through a heater before reaching the bath, allowing us to fill it with hot water.
A plumber installed the water connection, heater, pipework and drainage. This was not a part of the project we attempted ourselves.
The exposed copper pipe adds to the simple outdoor appearance of the bath and works beautifully with the timber and the original pink finish.
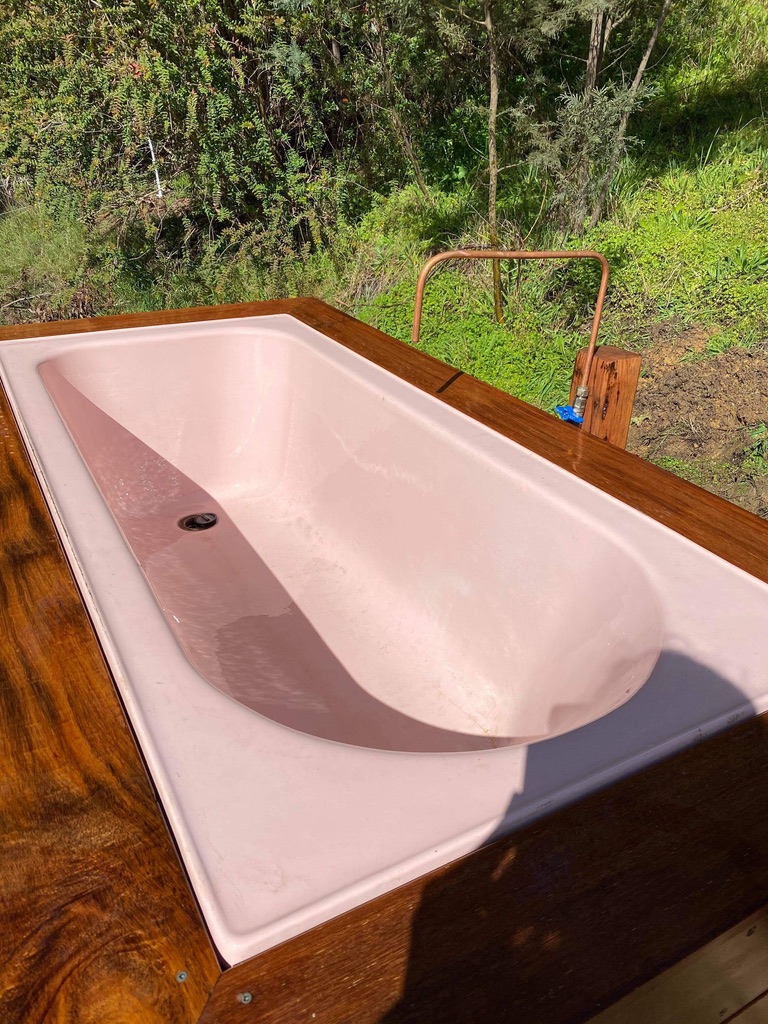
How the Outdoor Bath Drains
The bath drains into a greywater system rather than allowing the water to pool underneath the timber structure. We can then reuse the greywater in the garden.
This works well in a rural setting and means the bathwater can have a second use after we have finished with it. We are mindful of the products we use in the bath so the water remains suitable for the garden.
Giving the Original Bath a Second Life
The finished outdoor bath became one of our favourite features on the property.
What was once a well worn bathtub hidden inside the house became a quiet place to soak outside and enjoy the surrounding landscape. The timber surround, hot water connection and garden setting gave it an entirely new purpose without taking away its original character.
One of the things we love most about renovating is finding ways to reuse existing materials. Not everything needs to be replaced with something new. Sometimes the best projects begin by looking at an old object differently.
If you are removing a cast iron bath during a renovation, it may be worth considering whether it could become an outdoor bath. You will need a secure frame, a suitable water supply, a way to heat the water and properly installed drainage, as well as plenty of friends to help move it. With the right setup, the bath itself could last for many more years.
More from Great Ocean Road Living